Showing posts with label Art and Crafts. Show all posts

Monday, 28 July 2014

Paper Plate Porthole Art


During our visit to Ushaka Marine World, the Butterballs spent lots of time peering through the porthole to admire the tiny sea-creatures that live at the bottom of the ocean.


We decided to create our own little porthole so that the Butterballs could peer into their 'aquarium' whenever they wanted too.

Material : paper plate, paint, split peas, glue, sea-themed stickers


How to: 
*Paint the plate blue. Tamlyn used a sponge roller. Ethan preferred the paintbrush.


* Glue on the split peas to make the 'gravel' at the bottom of the tank.
* Add stickers, then step back and admire ;)

Don't you just love simple crafting!!

Thursday, 24 July 2014

Sandcastle Sand Art


After each visit to the ocean, the Butterballs return with at least a bucketful of sea-sand( most of it brought home by 'accident')

We decided to put the sand to good use by creating our own 
sandcastle sand-art.


Material : A sandcastle color-in page, glue, sand and a few ocean-themed stickers.


How to:
* Outline the castle with glue (an adults help may be necessarily)
* Sprinkle sand onto the picture (great fine motor skill practise!)
* Dust off excess sand and allow to dry.
* Decorate with stickers or seashells.

The Butterballs loved this simple activity. 
"just like sprinkles!' exclaimed Ethan, while sprinkling sand over his picture. ;)

Monday, 14 July 2014

Turtle Mosaic Craft


After spending ages watching the turtles at Turtle Lagoon, Ethan has decided that he would like a pet turtle as his Christmas gift. 
Hopefully he will forget all about it, come Christmas,
 but for now, we decided to create our own little pet turtles.


Material: Glue, Sundae lid (the plastic disposable kind), googly eyes and craft foam.


How to: 
*Cut the foam into the shape of a turtle, then cut up a few small squares or rectangles to  stick onto the 'turtle shell'

* Apply glue to the rim of the sundae lid and stick firmly onto the turtles back to create it's shell.
(this bit is best done by an adult)

* The kids can now stick the little foam squares all over the turtles shell.

* Glue on the googly eyes and allow to dry.


Crush and Little Dude (the Butterballs totally love the movie Finding Nemo) now live in the sand pit near the pond.


Thursday, 26 June 2014

The Great Bash-up


My little man loves his toy hammer
(he loves Dad's hammer even more!)
Even though he has a toolset, complete with nails ,screws and pieces of pretend wood, he still prefers hammering cupboard doors, windowsills and under-counter pipes!

Today, he got to 'fix' stuff in a great, messy bash-up!!!

Equipment :
 * baked cotton balls
 * water beads
 * jelly-filled eggs
 * safety glasses
 * a hammer

****** Try to do this activity outdoors or cover the floor with a plastic sheet. Messy with a Capital M!!!


Water Beads
 I soaked a packet of water beads a few days before our bash-up 
so they were really large and plump.
Next, I filled a ziploc baggy with the water beads and let Ethan at them.

I'm so glad that the water beads were safely packed into the baggy.
I didn't want water beads shooting off all over the floor - major safety hazard, especially when you have 2 left feet!


Jelly-Filled Eggs
These need to be prepared the night before your bash-up so the jelly has plenty of time to set.
Step 1 : Cook Spanish Omelets for breakfast..... :D  Basically, you need empty egg-shells.
Step 2 : Carefully paint egg-shells. Allow to dry. 'Is it Easter Egg time, Mommy?' asks Ethan.
Step 3 : Prepare jelly and allow to cool slightly.
Step 4 : Pour jelly into egg-shells. The Butterballs loved using the funnel and toy teapot to fill up the eggs.
Step 5 : Refrigerate until set. I placed the eggs back into the egg box - made it easier to store.

                ****Place eggs on a tray before smashing - 
                      things are about to get REALLY messy!!

Ethan LOVED smashing through the crunchy egg-shell into the squishy jelly. He couldn't resist digging through the crunchy slime with both hands!!!


Baked Cotton Balls

The Butterballs had fun preparing these cotton balls.
How to :Mix a cup of flour with a cup of water. Stir until it forms a smooth paste. Mix in a few drops of food colouring. Dip cottonballs into the paste and place on a lined cookie tray. Bake for 15minutes at 180 degrees Celsius.

Allow the cotton balls to cool before smashing.

The baked cottonballs are simply cotton balls with a colourful, hard shell. Nothing special to an adult but sheer magic to a two year old!

 Ethan had the time of his life...he would have happily spent hours 'fixing' cotton balls and jello eggs at his messy workstation.

Even Tamlyn got in on the action!

Just one more activity left on Ethan's Birthday Bucket List now!


Wednesday, 28 May 2014

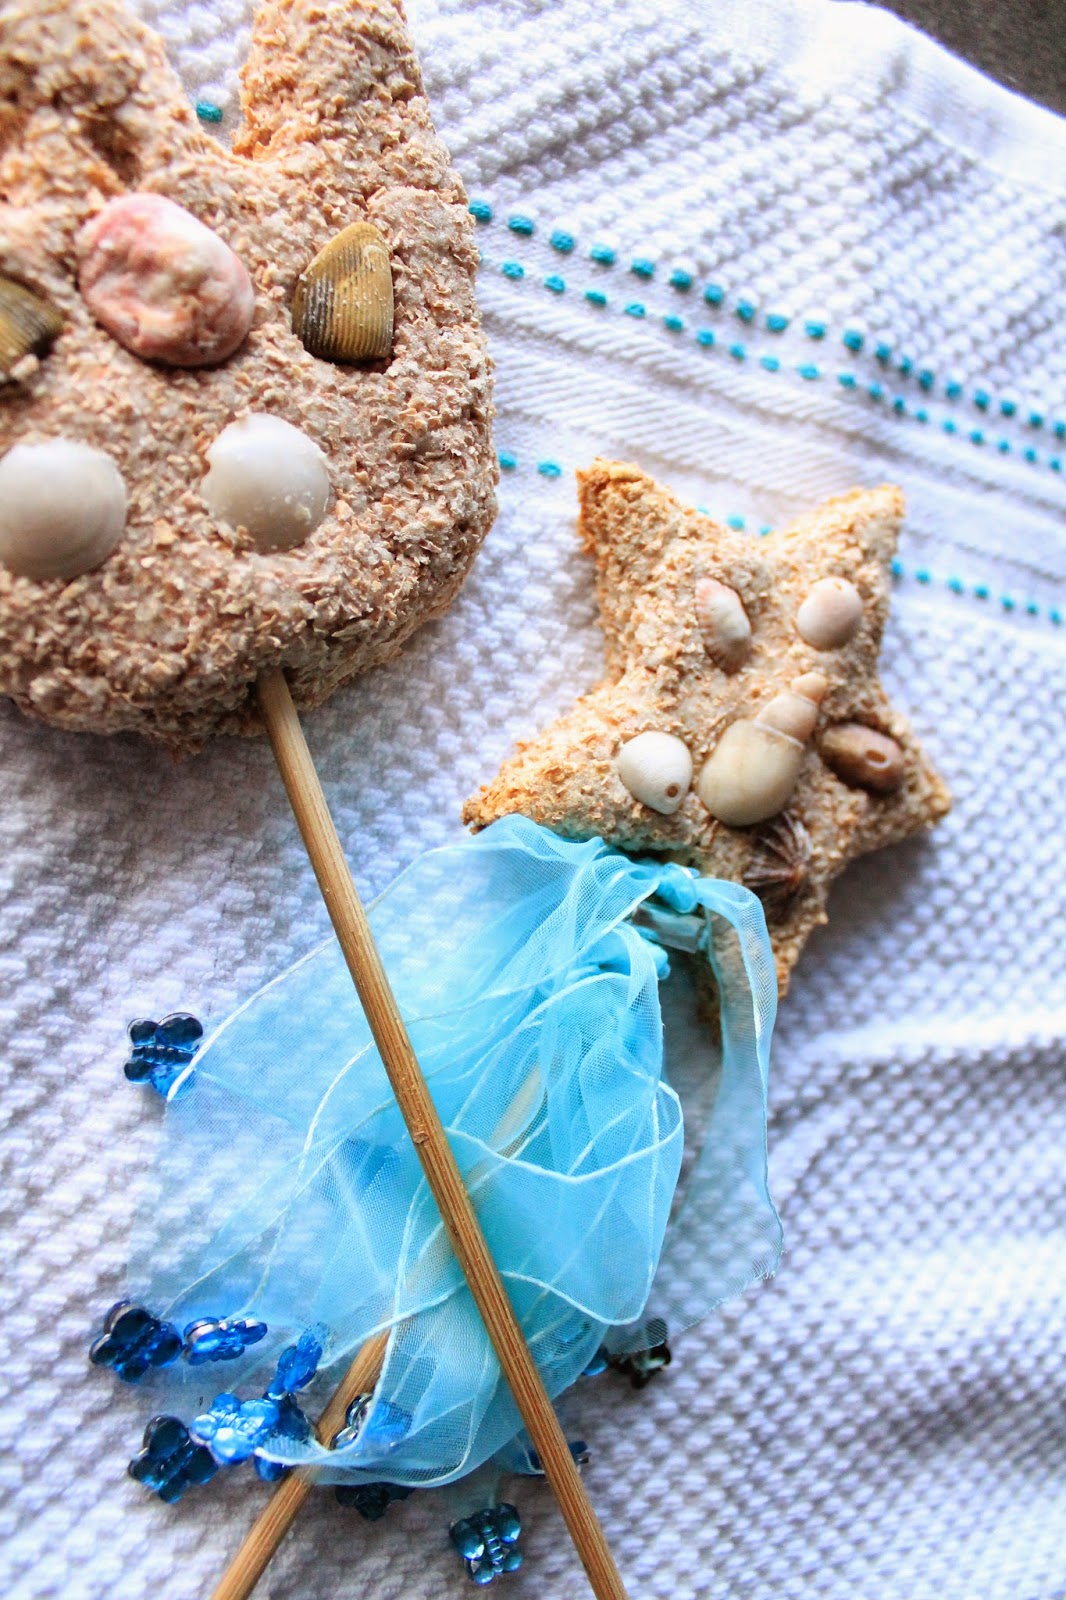
Saltdough Mermaid Wand and Neptune's Trident


The Butterballs collected a bucketful of pebbles and seashells from our last visit to the beach...time to put them to use!!!
First, we mixed a batch of Whole-wheat Salt dough.
Recipe :

Mix together, half a cup of whole wheat flour, half a cup of salt and a third of a cup of water until it forms a slightly sticky dough.
Tamlyn cut out a star for her Mermaid Wand and I helped Ethan cut out a trident.
The Butterballs happily decorated their dough shapes with seashells and pebbles.


We carefully pushed in a skewer and baked our crafts for 
20 minutes at 180 degrees Celsius.

A bit of ribbon, a few beads and a dab of paint, and the Butterballs were ready for a game of 'Under the Sea'

Saturday, 29 March 2014

Easter Scratch Art

 It has been a looong week!
Lack of energy has me resorting to an easy, quick-fix activity for my Butterballs.


After a considerable amount of searching, I finally found the pack of rainbow scratch paper...
Time to tidy up my crafts cupboard ;) but definitely not today!


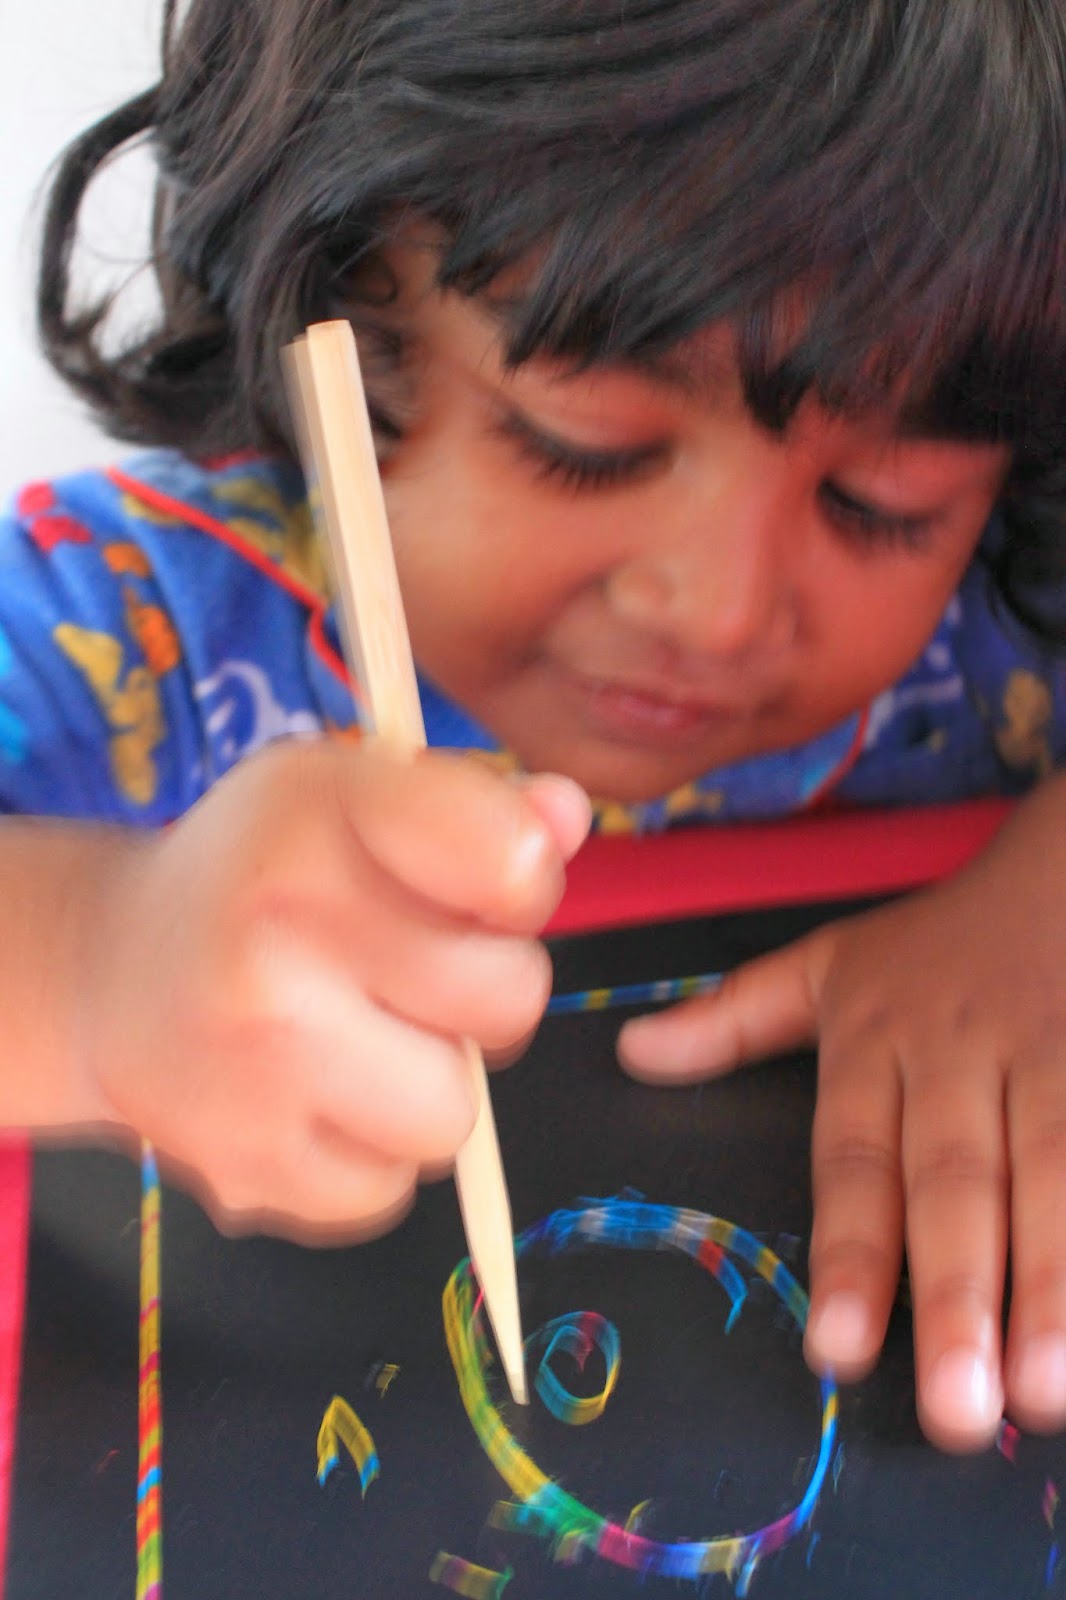
I gave my Butterballs an egg-shaped cutter, a few sheets of scratch paper and a skewer,
then settled back onto a comfy cushion to relax.

The Butterballs quickly traced around the cookie cutter, 
Tamlyn was pretty good at it- Ethan needs more practice!

Soon they were busy decorating their special easter eggs.
The Butterballs love scratch art,
 I saw a link on Pinterest for DIY scratch Art which I just gotta try...
But not today!


Thursday, 20 March 2014

Butterfly art - Symmetry Painting


Today, the Butterballs are all geared up for some serious painting!
This was our first attempt at symmetry painting so they were pretty excited!

Supplies:
Paint, paintbrushes and paper butterfly cut-outs


  We tried 2 different techniques:
Technique 1:
Tamlyn painted one side of the butterfly as normal.

After folding the butterfly over, she pressed down firmly onto the outside of the butterfly,
Then opened it carefully...not quite the results we expected.
Ethan tried out the second technique:
slapping on thick blobs of paint

After pressing both wings together,
 he excitedly pulled it apart to reveal a beautiful marbled pattern.

Technique 2 -' Blobs of Paint'
was the winner!
... what do you think?
How would you do symmetry painting with your little ones?


Friday, 14 March 2014

Butterfly Art - Melted Crayon Butterflies


Just fell in love with this cute craft from freekidscrafts.
An awesome way to use up those pesky stubs of crayon that always lurks at the bottom of the crayon box!!

Supplies:
Grated crayon, wax paper


Fold the wax paper in half, waxed side facing inwards.
The Butterballs sprinkled the grated crayons onto one half of the wax paper.
After folding the paper over, they waited patiently for the iron to warm.


The Butterballs have never touched an iron before...they were sooo excited.
I warned them at least a hundred times that they are NOT to touch the iron with out me being there.

LOTS of supervision is needed for this activity.
Under my watchful (and anxious) gaze,
The Butterballs ironed the wax wrap gently with a warm iron.
The iron was set on the minimum heat setting.

We talked about heat and how it causes the crayon to melt, 
like ice-cream on a hot day.
They were amazed at how quickly the crayons melted.

Thankfully, there were no burnt fingers, 
just broad grins as the Butterballs proudly reported their ironing experience to Dad!

I think they were more impressed with handling the iron,
 than with the beautiful, marbled wax art they made! 


I cut butterfly silhouettes out of black cardboard.

Then carefully stuck their waxy masterpieces onto the silhouette using craft glue.

Stunning...
but I won't attempt that sort of activity again until the Butterballs are much older!!


Tuesday, 11 March 2014

Butterfly Art - Sponge Painting


Today's awesome activity is from thecrafttrain.com

Equipment : 
Paint and kitchen sponges.

Tie a hairband around the center of the sponge to create the perfect butterfly shape.

The Butterballs used their paintbrushes to spread a thick layer of paint on the sponge.


Press down firmly.

Very gently, pull up the sponge then restamp...

I filled in the details using a black marker.

The Butterballs were so proud of their butterflies!!!


Thursday, 6 March 2014

Butterfly Learning - Hungry Caterpillar Craft

Having discussed the life cycle of a butterfly with the ButterBalls,
 and read...
and reread the story of the Hungry Caterpillar, 
 we decided to begin our Butterfly Wall
 by constructing our very own
Hungry Caterpillar.


We used : an egg carton, paint, plastic eyes and pipe cleaners.

I trimmed the egg carton into manageable strips.
The ButterBalls happily painted their Hungry Caterpillars.


While they waited for the paint to dry,
they enjoyed a delicious grape caterpillar snack

A breeze to make!
 You just thread grapes onto a skewer and stick on little Tic-Tac sweet eyes!


Once the paint had dried (and the sticky fingers had been wiped) 

 I helped them make little holes on the caterpillars head, through which they pushed little pieces of pipe cleaner to form the antenna.


The ButterBalls stuck on the eyes using double-sided tape.


With their caterpillars in hand, the ButterBalls trotted off to find granny - hoping to scare away a few more strands of hair...poor granny!