Saturday 29 March 2014

Easter Scratch Art

 It has been a looong week!
Lack of energy has me resorting to an easy, quick-fix activity for my Butterballs.


After a considerable amount of searching, I finally found the pack of rainbow scratch paper...
Time to tidy up my crafts cupboard ;) but definitely not today!


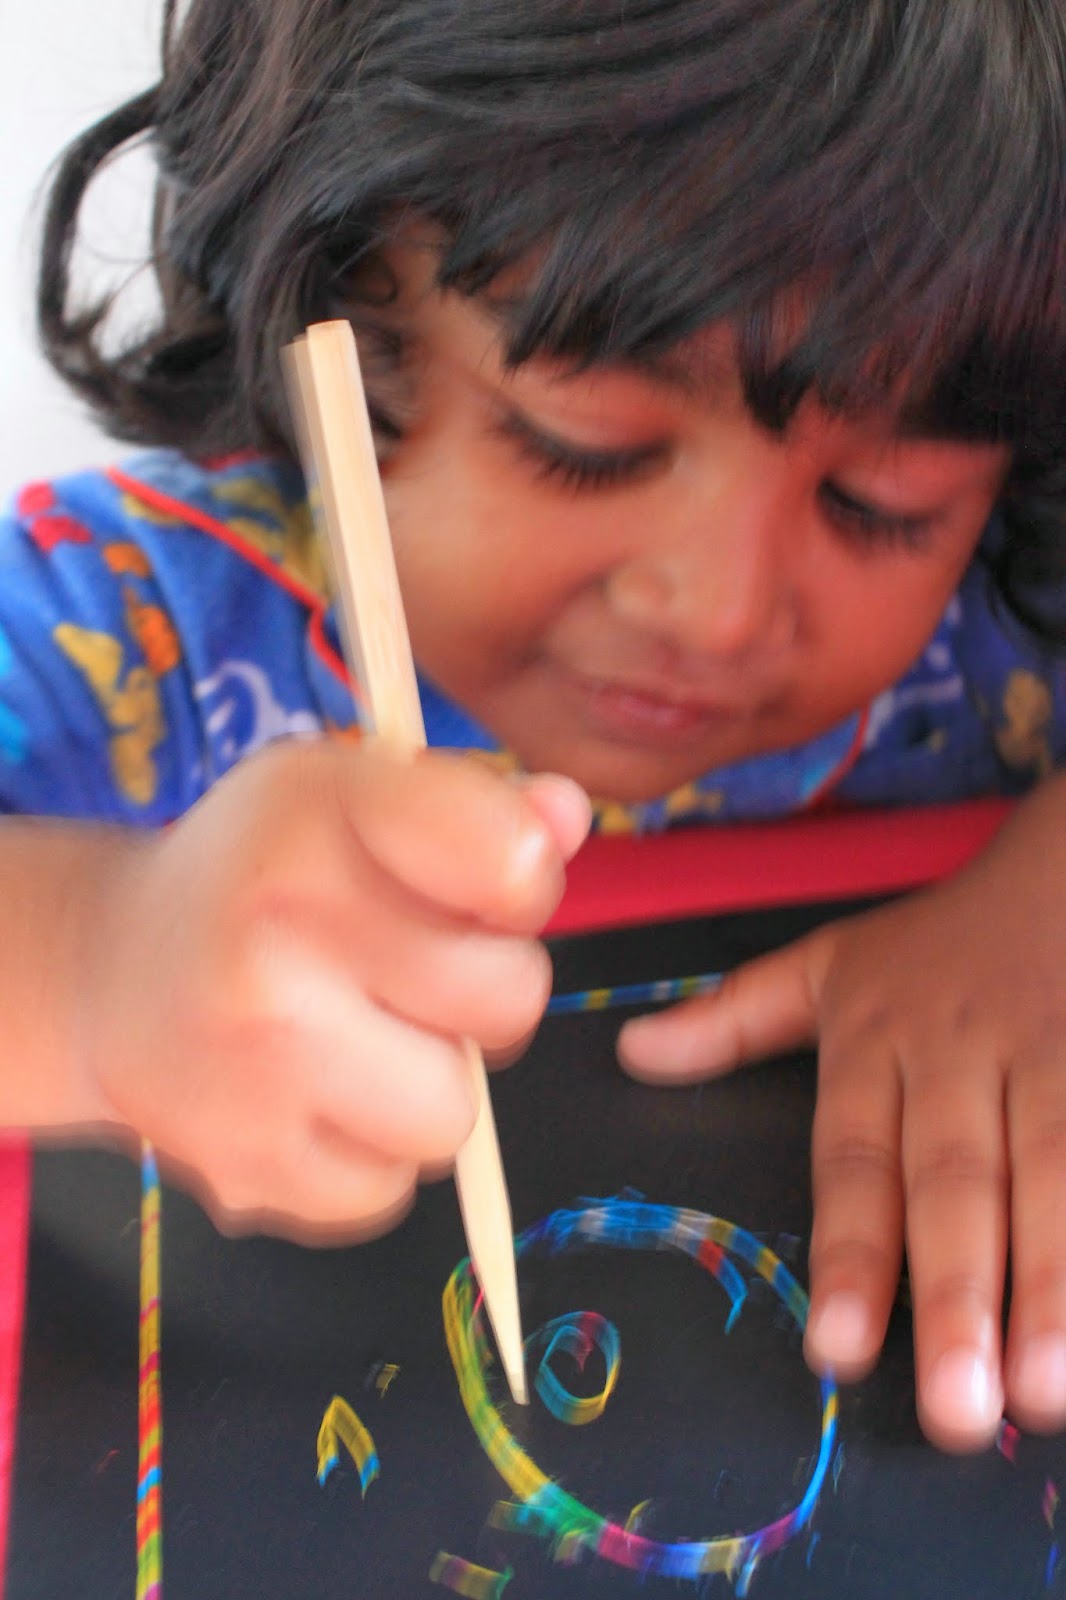
I gave my Butterballs an egg-shaped cutter, a few sheets of scratch paper and a skewer,
then settled back onto a comfy cushion to relax.

The Butterballs quickly traced around the cookie cutter, 
Tamlyn was pretty good at it- Ethan needs more practice!

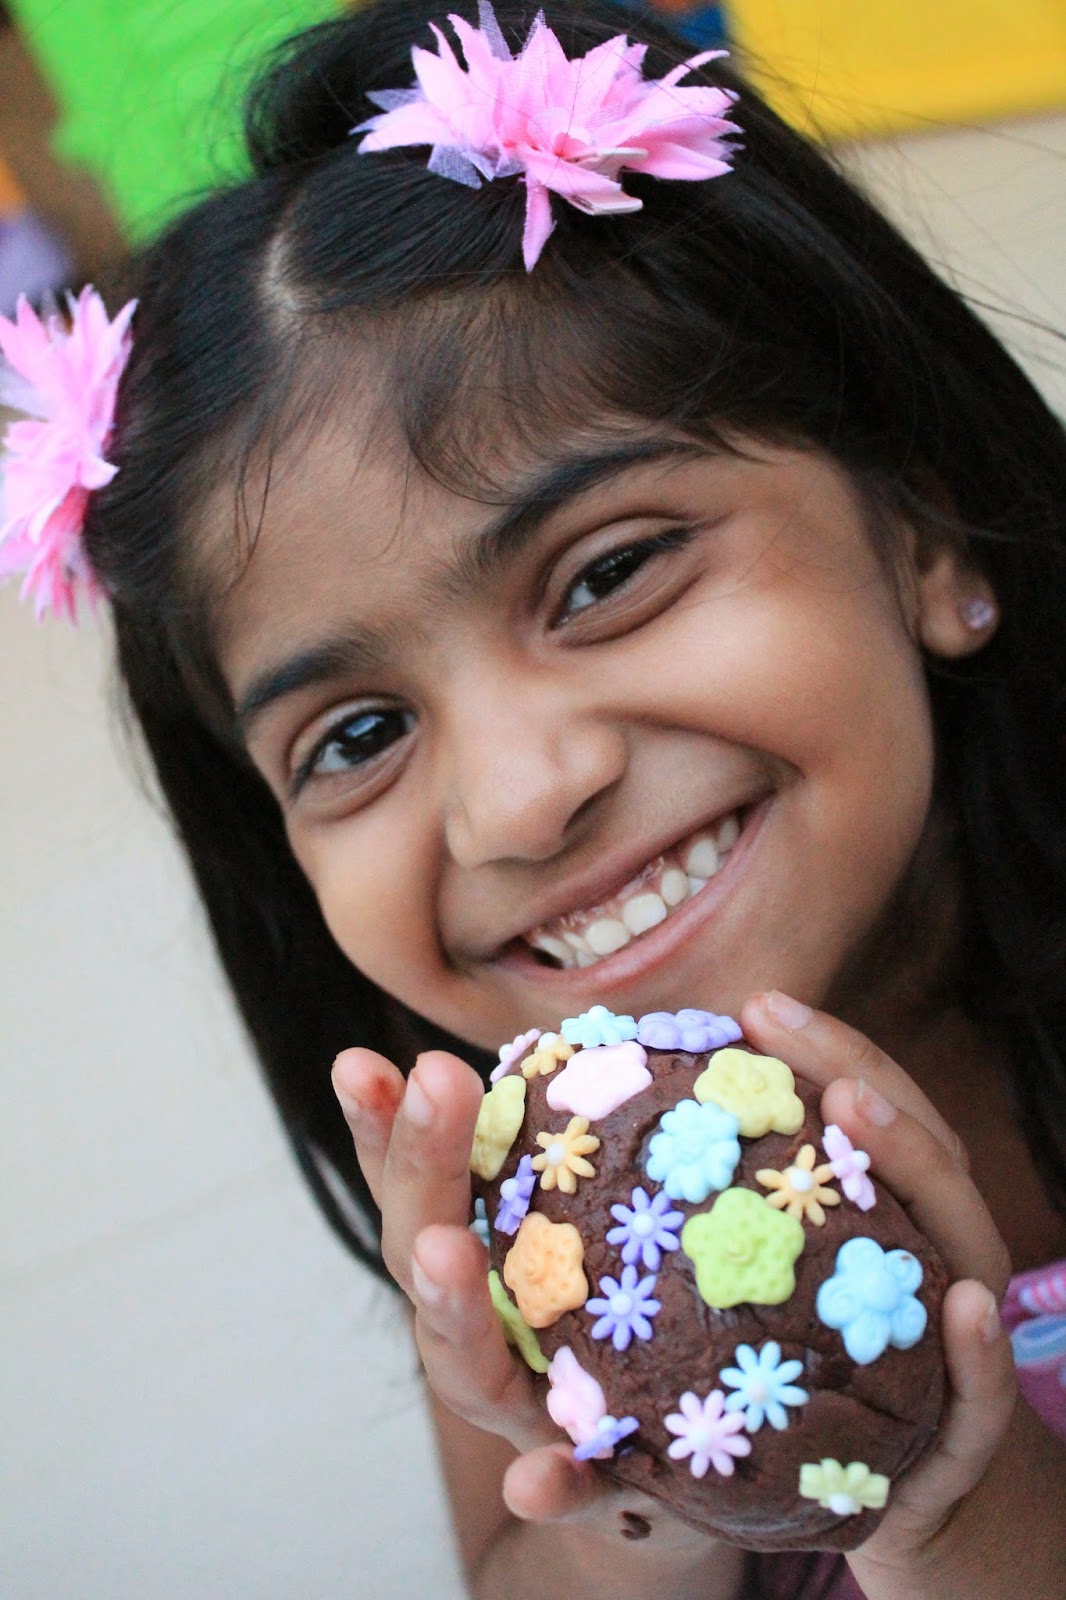
Soon they were busy decorating their special easter eggs.
The Butterballs love scratch art,
 I saw a link on Pinterest for DIY scratch Art which I just gotta try...
But not today!


Wednesday 26 March 2014

Chocolate playdough Easter Treats


The Butterballs have been in seventh heaven.
Dad bought them an extra large box of assorted Easter choccies.

Butterballs + chocolate = CHAOS

I decided to replace those sweet treats with an equally fun, delicious smelling activity... Chocolate Play dough Treats!!!

I mixed a batch of chocolate playdough using my favorite recipe:


2 cups flour
Half a cup salt
Half a cup Bourneville cocoa
2 tbl cream of Tartar
3 tbl oil
1 cup water

Measure dry ingredients into a pot. Slowly pour in wet ingredients.
Whisk until smooth.
Cook on medium heat.Stir till dough forms a ball.

Knead carefully as dough will be hot. I like adding oil as this prevents the dough from drying out and also gives it a slightly glossy appearance.

Supplies :
Chocolate play dough, fondant flowers or sprinkles (you could also use button and beads), Easter themed chocolate molds.


The Butterballs spent a few minutes just exploring the texture of the play dough.They enjoyed rolling and squeezing it.

And they totally loved the smell!!!
'Mmmm, Chocolate!!' exclaimed a happy Ethan.


At last, the Butterballs were ready to begin with their chocolate molds.
I coated the inside of each mold with a few drops of oil.
This prevented the dough from sticking to the mold.

The Butterballs carefully pressed the dough into the molds.
 Tamlyn decided to try out the bunny mold first.
All it took was a light tap to remove the bunny from the mold.


Now for the decorating...
The Butterballs simply pressed the flowers gently into the dough.


Tamlyn also tried the egg-shaped mold. 
She carefully pressed both halves together to form her egg.


Ethan preferred to make his own eggs without the mold and just rolled a few balls of dough, then covered them in candy flowers.

Surprisingly, he didn't try to eat the flowers (or the dough) even though they were edible!


Decorating is such serious business!

The Butterballs had a blast.
End result...good enough to eat!!


Tuesday 25 March 2014

Easter Chocolate Spoons


We kick off our Easter Crafting with a super simple, sweet treat!
Chocolate and candy on a spoon...what could be easier!!

I melted a slab of Cadbury Bubbly chocolate in the microwave,
then called in the Butterballs.
Working quickly, they scooped spoonfuls of yummy melted chocolate 
and lined them up for decorating.

A few candy eggs later and we were all done.
Now for the really tough part...
waiting for the chocolate to set!!
I really love chocolate spoons-
they are the perfect bite-sized treat for the Butterballs
and no sticky, chocolate-coated fingers!!!

Saturday 22 March 2014

Easter Photo Shoot

In keeping with our family tradition,
 we begin our Easter count-down with an Easter-themed mini-shoot.

This year, I did a fun, mini egg-hunt with the Butterballs.
All this rain has left the grass lush and green,
perfect for a quick frolic in the sunshine!

The Butterballs totally loved rolling in the grass
 and scooping up the brightly colored eggs (which were empty)!!

Surprisingly, the lack of candy-filled eggs didn't disappoint them.
They were just so happy to be messing around outside!


Thursday 20 March 2014

Butterfly art - Symmetry Painting


Today, the Butterballs are all geared up for some serious painting!
This was our first attempt at symmetry painting so they were pretty excited!

Supplies:
Paint, paintbrushes and paper butterfly cut-outs


  We tried 2 different techniques:
Technique 1:
Tamlyn painted one side of the butterfly as normal.

After folding the butterfly over, she pressed down firmly onto the outside of the butterfly,
Then opened it carefully...not quite the results we expected.
Ethan tried out the second technique:
slapping on thick blobs of paint

After pressing both wings together,
 he excitedly pulled it apart to reveal a beautiful marbled pattern.

Technique 2 -' Blobs of Paint'
was the winner!
... what do you think?
How would you do symmetry painting with your little ones?


Wednesday 19 March 2014

Butterfly sugar cookies


My little chefs love messing around in the kitchen...
especially when there's frosting to lick and sprinkles to sample ;)

Today, they got to decorate butterfly-shaped sugar cookies.


The Butterballs happily spread royal icing onto the cookie.
Then the fun began...


 First attempt...


Finally got the hang of it!!

 Ethan as usual, spent more time eating the candy than actually decorating his cookies!

Friday 14 March 2014

Butterfly Art - Melted Crayon Butterflies


Just fell in love with this cute craft from freekidscrafts.
An awesome way to use up those pesky stubs of crayon that always lurks at the bottom of the crayon box!!

Supplies:
Grated crayon, wax paper


Fold the wax paper in half, waxed side facing inwards.
The Butterballs sprinkled the grated crayons onto one half of the wax paper.
After folding the paper over, they waited patiently for the iron to warm.


The Butterballs have never touched an iron before...they were sooo excited.
I warned them at least a hundred times that they are NOT to touch the iron with out me being there.

LOTS of supervision is needed for this activity.
Under my watchful (and anxious) gaze,
The Butterballs ironed the wax wrap gently with a warm iron.
The iron was set on the minimum heat setting.

We talked about heat and how it causes the crayon to melt, 
like ice-cream on a hot day.
They were amazed at how quickly the crayons melted.

Thankfully, there were no burnt fingers, 
just broad grins as the Butterballs proudly reported their ironing experience to Dad!

I think they were more impressed with handling the iron,
 than with the beautiful, marbled wax art they made! 


I cut butterfly silhouettes out of black cardboard.

Then carefully stuck their waxy masterpieces onto the silhouette using craft glue.

Stunning...
but I won't attempt that sort of activity again until the Butterballs are much older!!